3D Scanning
Photogrammetry

3D Scanning
3D scanning plays a crucial role in our product visualization workflow, and I have become proficient in using a Creaform handheld scanner to efficiently capture a wide range of products. I am skilled in preparing objects for scanning, capturing complex shapes, and processing the resulting data to create accurate 3D models.
When faced with challenging scans, I leverage the captured data as a foundation for further modeling, ensuring efficient and precise results. This hybrid approach allows me to overcome limitations in the scanner's texture capture capabilities and deliver high-quality 3D assets for our product library.
Photogrammetry
Photogrammetry Studio Development
During my time at THS Creative, I was instrumental in developing a large-scale rotation-based photogrammetry studio for medium to large-scale products. With limited funding and available resources, I utilized several Canon DSLRs, a high-end automated turntable, and a custom-designed lighting solution consisting of six custom vertical LED and three custom horizontal LED Towers to create evenly diffused ambient light totaling nearly 480,000 Lumens.
The LED Towers I designed mitigated lighting inconsistencies and power consumption, freeing up resources for photographers to use in other bays. The intense lighting provided allowed the DSLR cameras to operate with a faster shutter speed and a smaller aperture to get the most optimal results.
I also developed a solution for shiny products that would be rather difficult for the software to compute—using cross-polarization, which increased shutter speed reducing the total output yet providing a more reliable solution for case goods with highlights.
Photogrammetry vs. 3D Hand Scanning
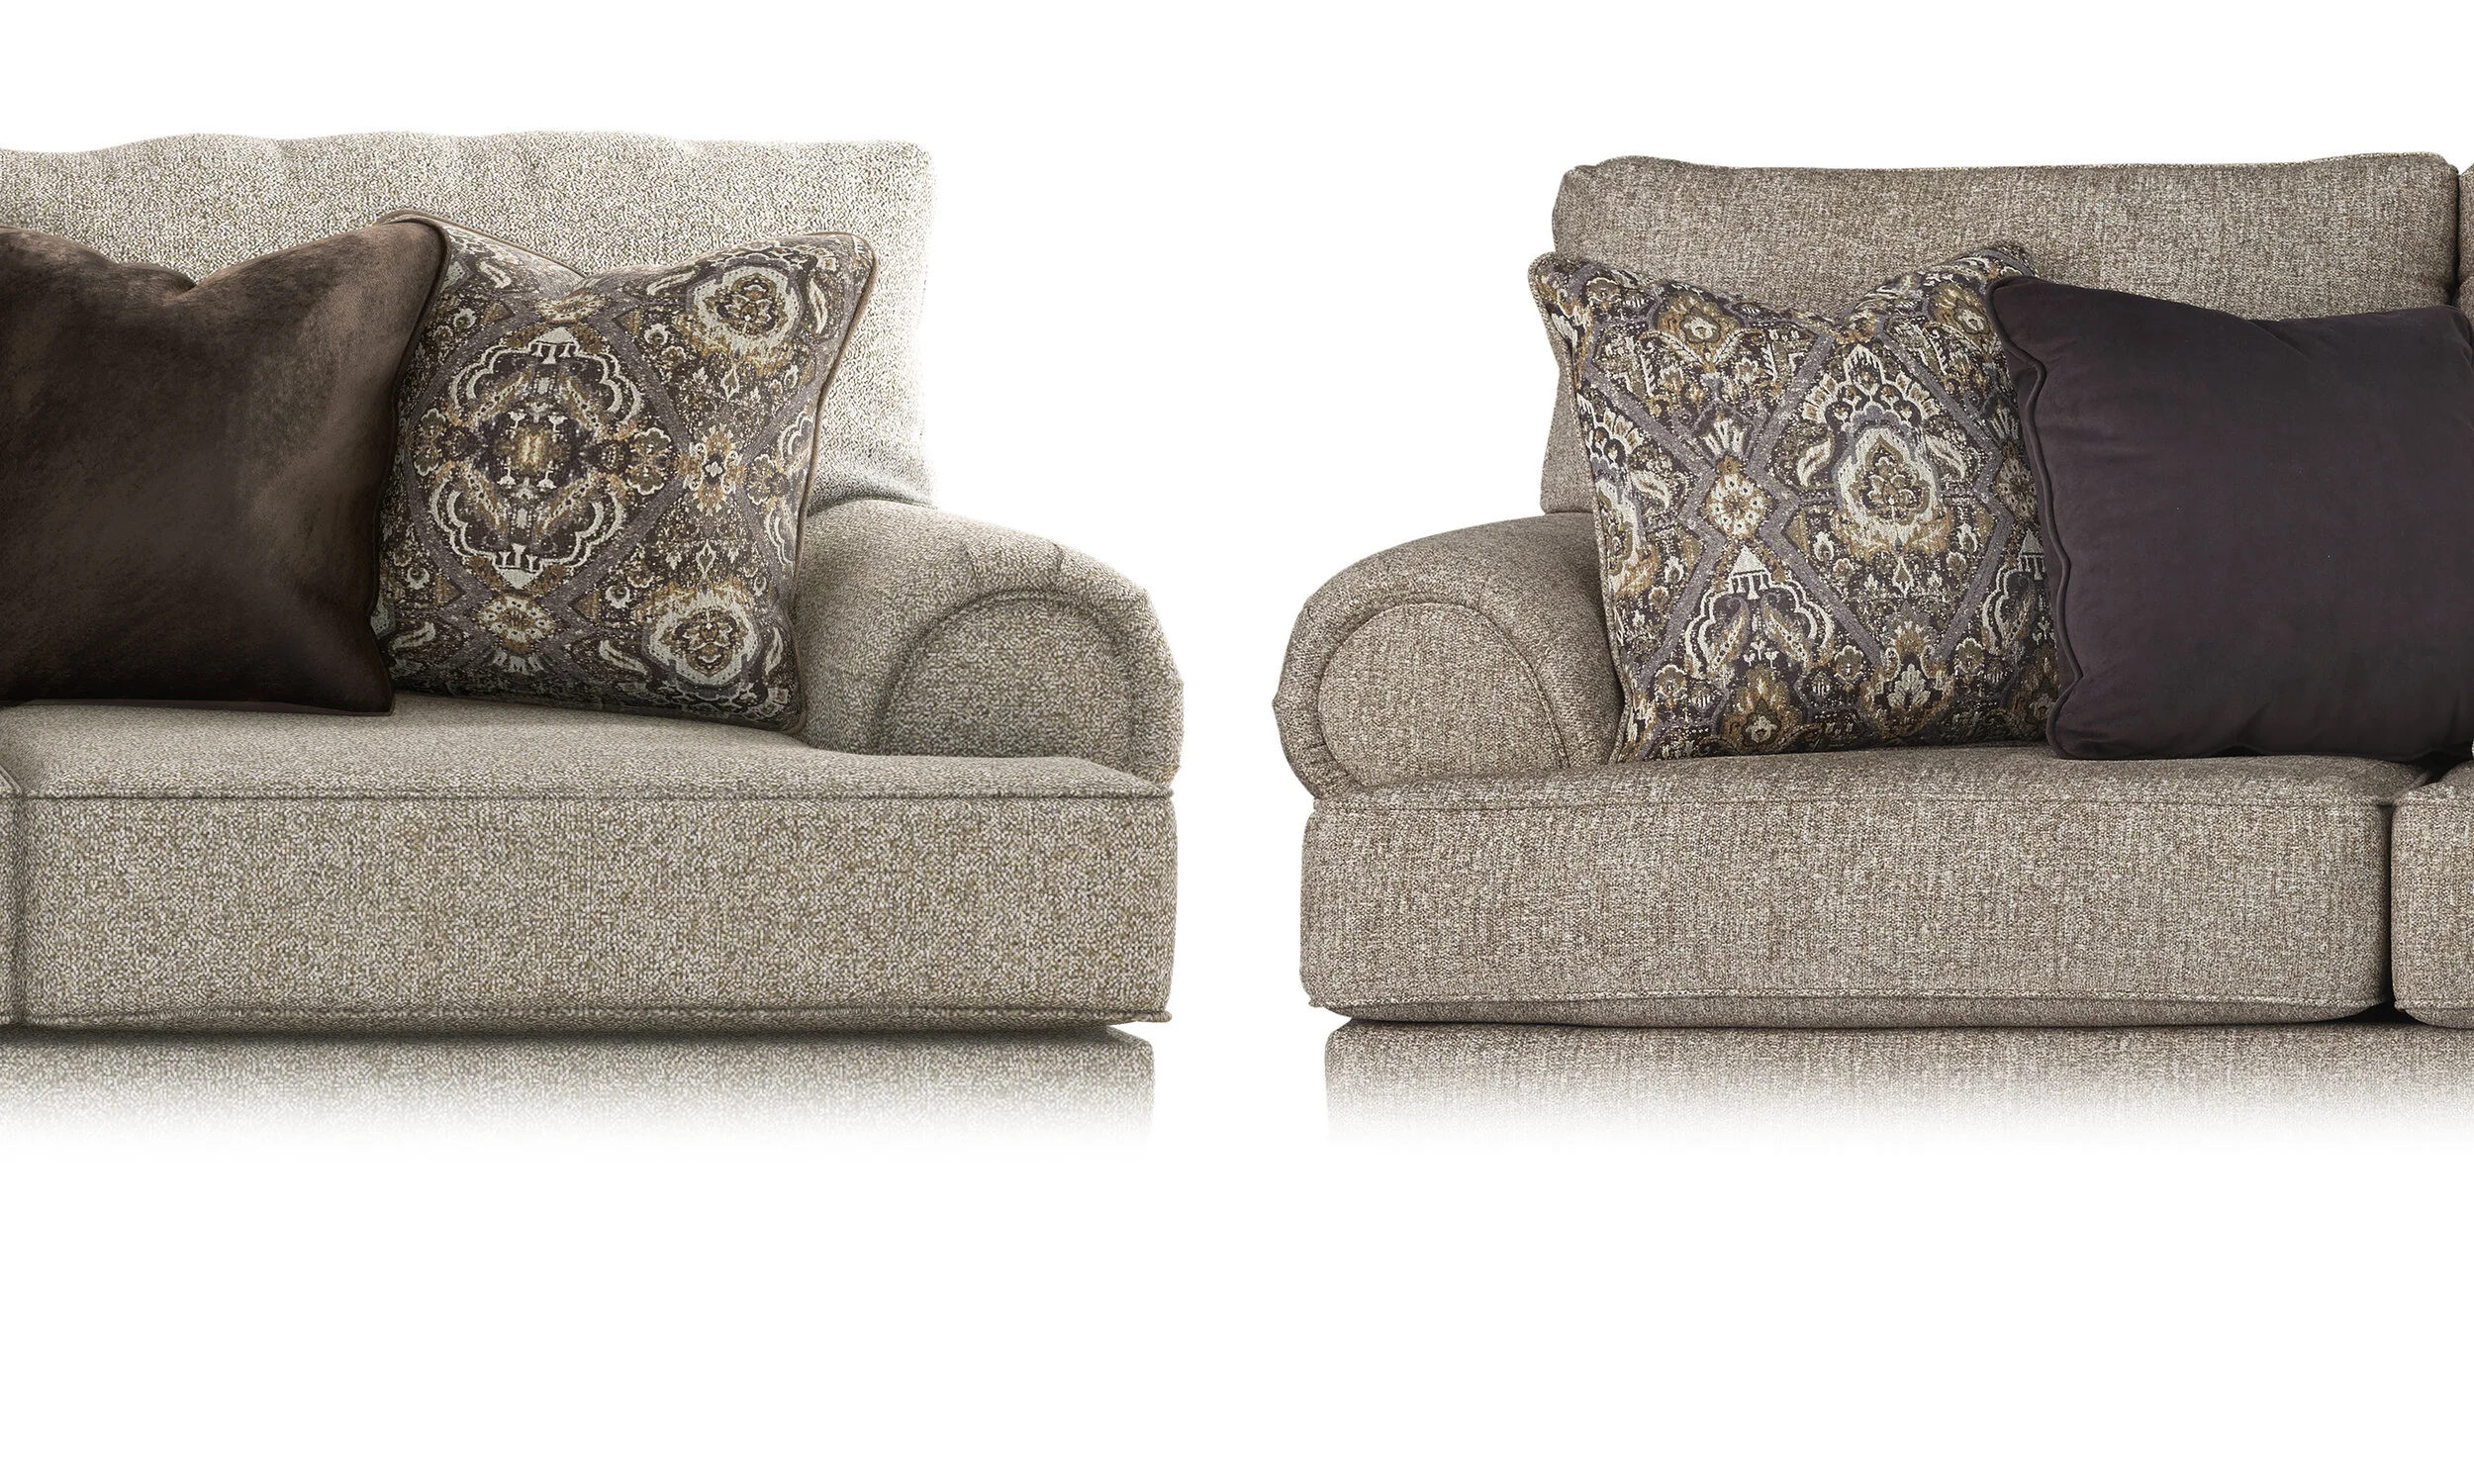
Both photogrammetry and 3D hand scanning have their advantages. However, in my experience, photogrammetry yields vastly superior results in both model and texture detail when done right. Once processed, models can either be decimated and brought into a 3D package or refined by creating a cleaner model topology and UV maps. Ultimately, I believe that this approach creates a model that is more versatile and usable in games, film, still art, AR/VR, and other applications.
Post-Processing
My post-processing approach varies depending on the complexity of the project. In many cases, I use Maya for advanced modeling, retopology, and proper UV unwrapping. I also use Zbrush to add baked tertiary detail and Substance Painter to create a PBR-based asset optimal for V-RAY, Unity, or Unreal Engine.


